Overview
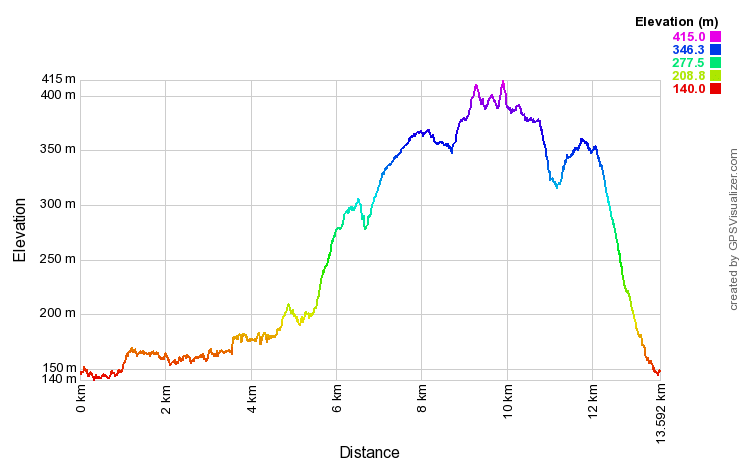
Height: 275 m; 902 ft
Distance: 8.5 miles; 13.5 km
Difficulty: Easy/Moderate
Estimated Time: 4 hours
Map: OL2 Yorkshire Dales South & Western
Route: View in Google Maps
GPX File: Download GPX file (desktop only) – What is a GPX file?
This circular walk starts in Settle and visits Stainforth Force, a small but magnificent waterfall; Catrigg Force, a tall waterfall with a rock pool (perfect for a swim if you can brave the cold); Jubilee Cave, a small but exciting cave you can explore with a head torch; and Victoria Cave, a huge cave with amazing history: bones of hippos, rhinos, elephants, reindeer and hyenas have been discovered in the cave.
Route
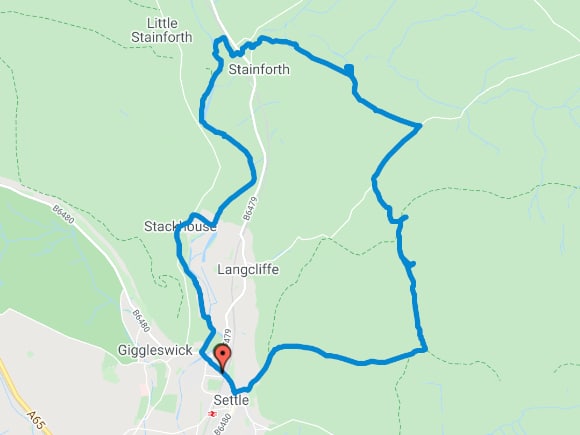
View in Google Maps
Elevation Profile
Parking and Transport
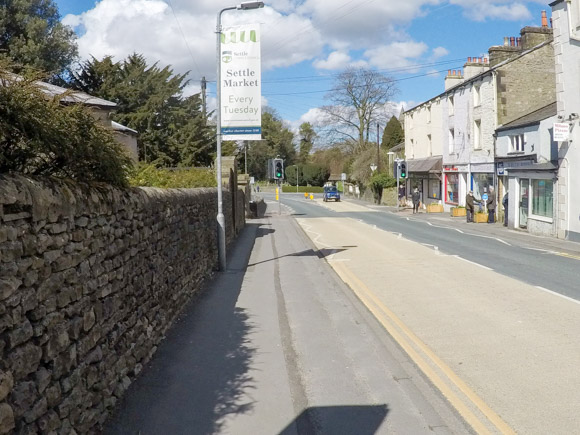
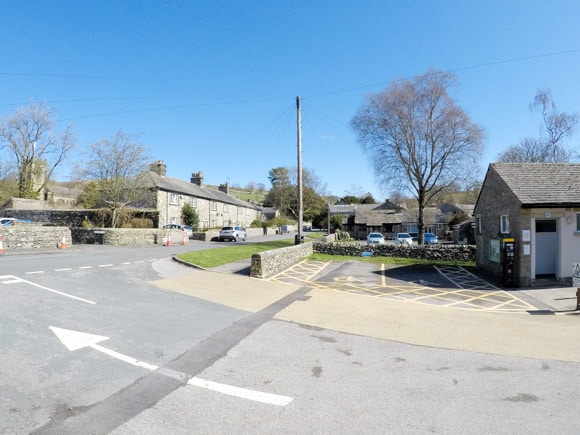
The start and finish point for the Settle Waterfalls and Caves walk is the well-connected village of Settle. Settle is on the Leeds-Carlisle train line and is accessible by bus from surrounding villages.
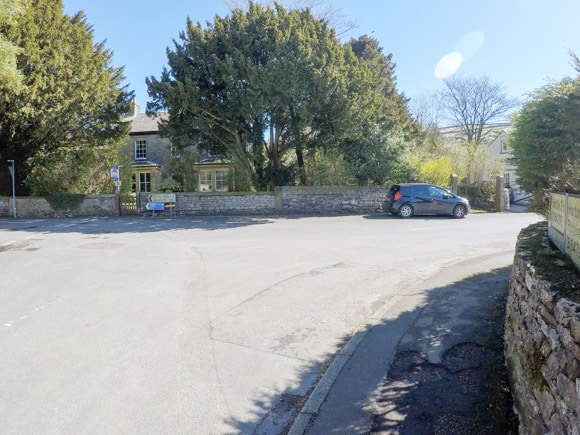
There is a large car park just outside of the centre of Settle, which is situated perfectly for this walk. The full address is
Whitefriars Car and Coach Park
Church Street
Settle
BD24 9JD
Car park prices
| Up to 1 Hour | £1.10 |
| Up to 2 Hours | £2.00 |
| Up to 3 Hours | £2.60 |
| Up to 4 Hours | £3.20 |
| Over 4 Hours | £3.90 |
Facilities
There are shops and pubs in Settle.
There are public toilets in Stainforth, which is just after Stainforth Force.
Starting the Settle Waterfalls and Cave Route
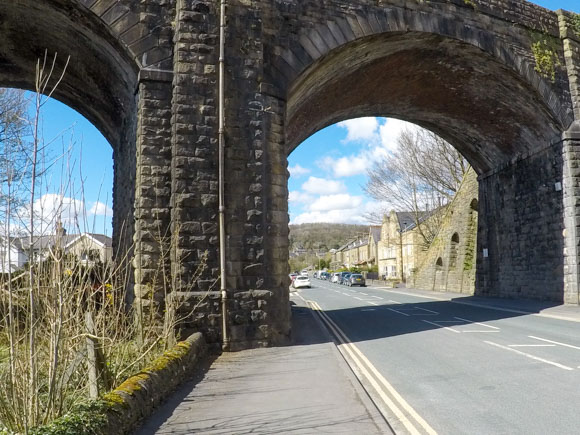
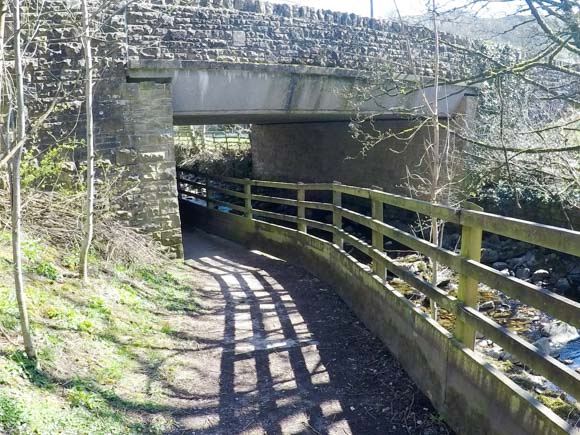
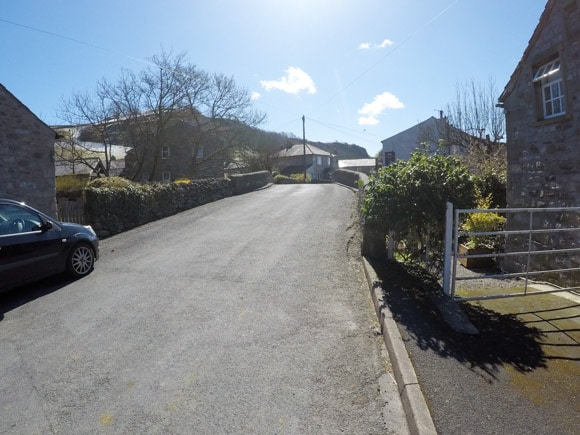
From the Whitefriars Car and Coach Park, head left on the B6480 under the Settle viaduct.
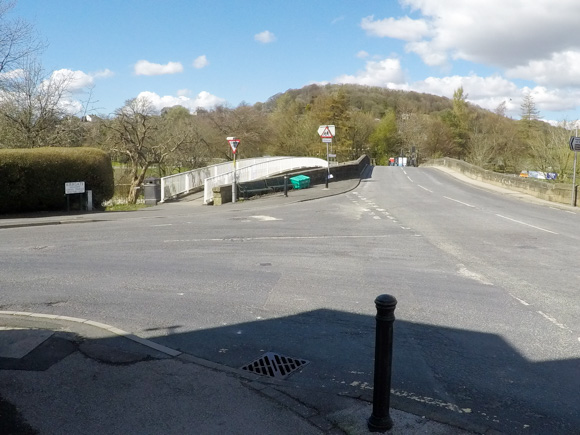
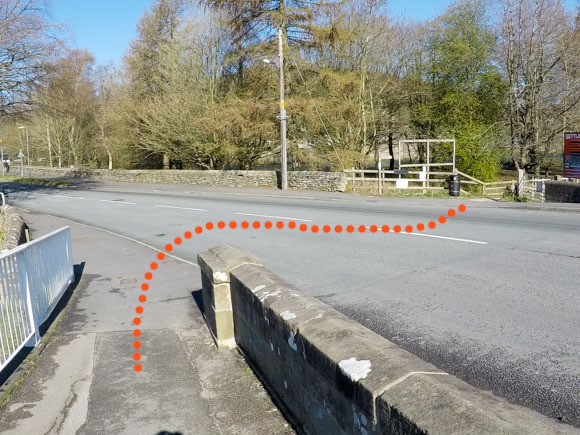
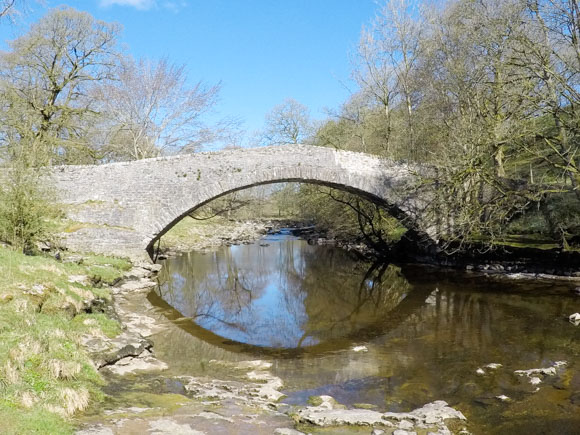
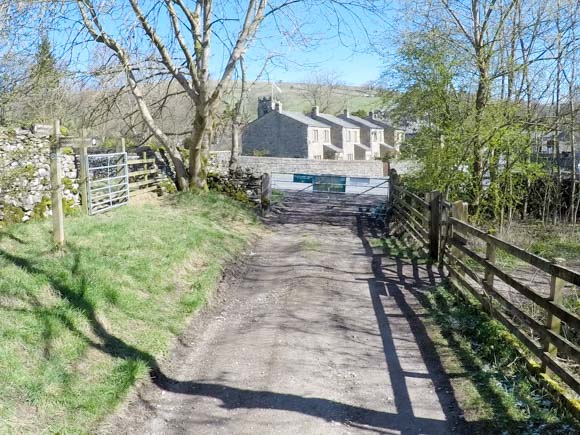
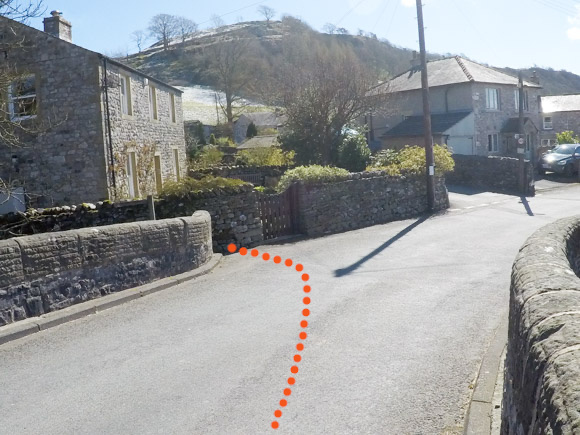
At the bridge, cross over the white-fenced footpath.
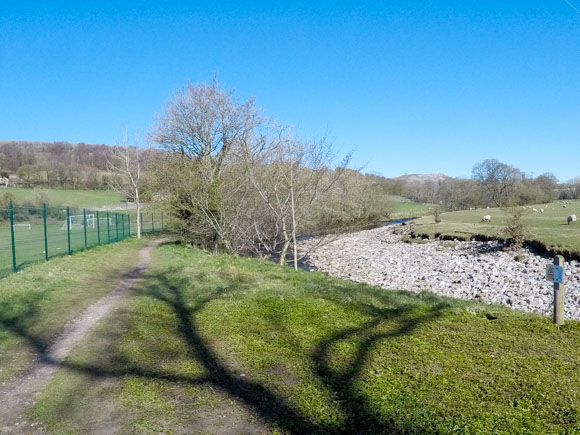
Cross over the bridge, following the signpost for “Ribble Way Stackhouse”. The route is a chalky path next to the football pitch.
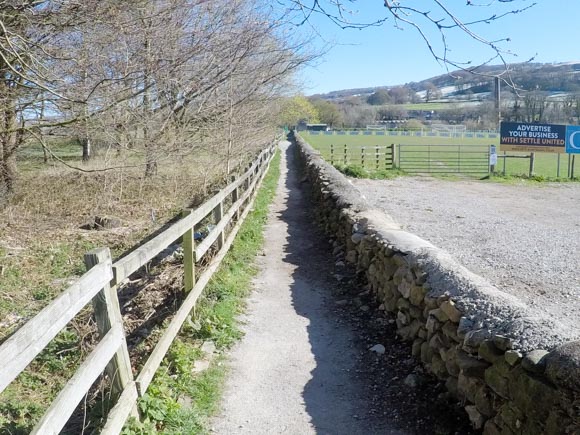

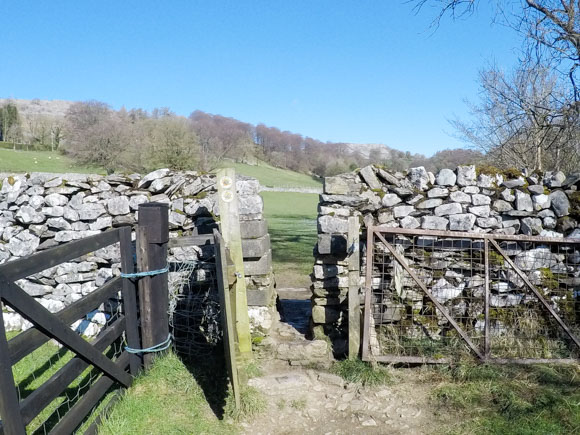
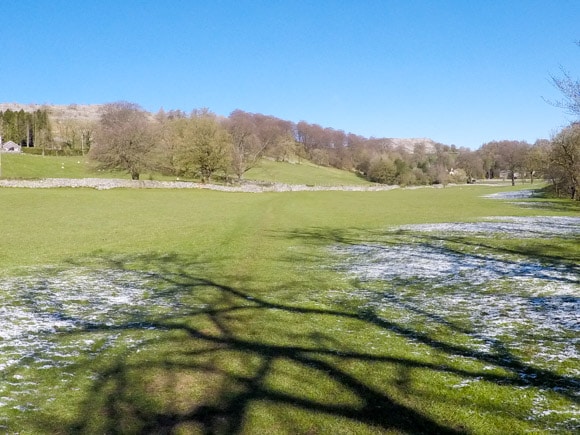
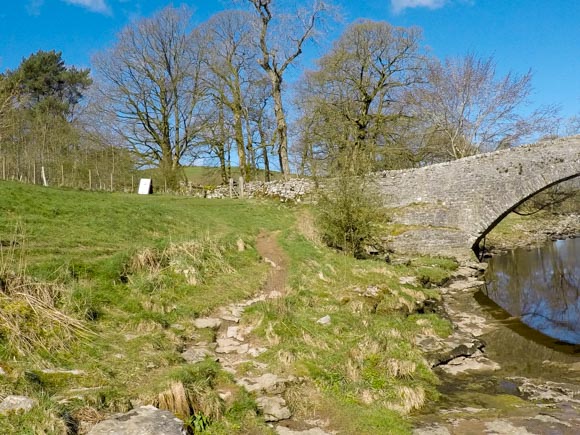
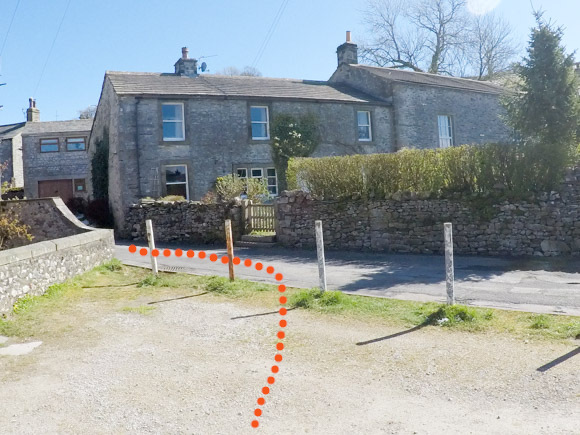
Head through the gate and cross the field.
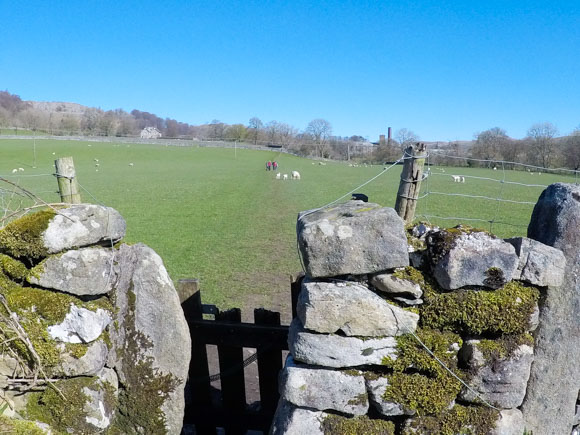
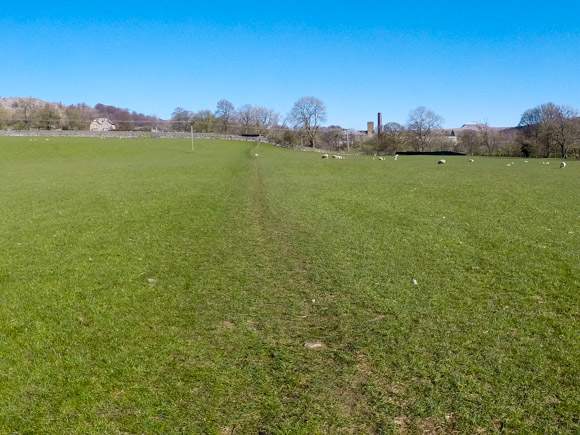
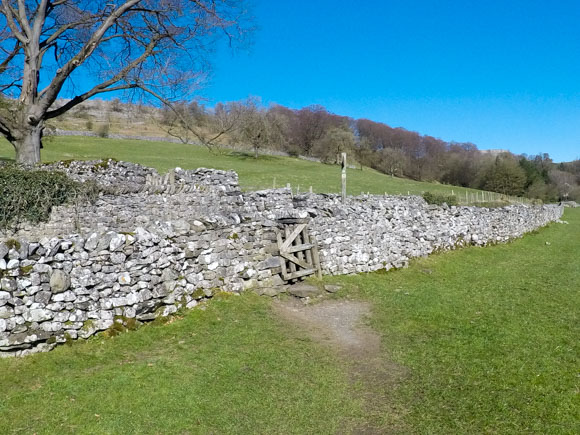
From the stone wall, head diagonally towards the main road. You should be able to see the next gate in the distance.
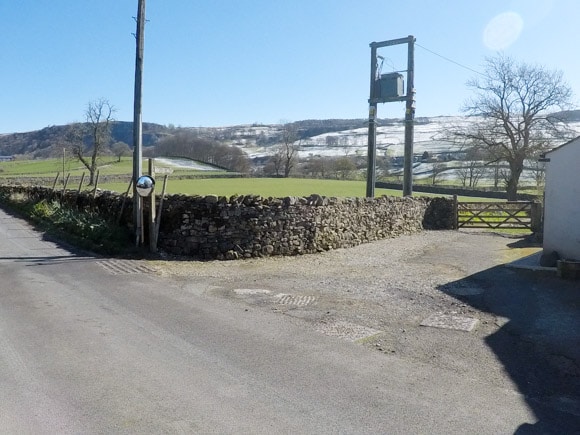
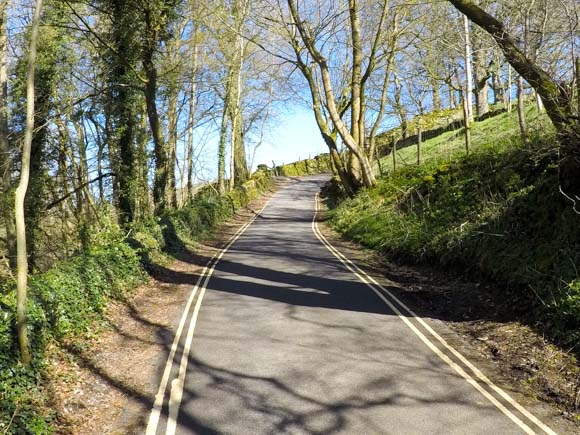
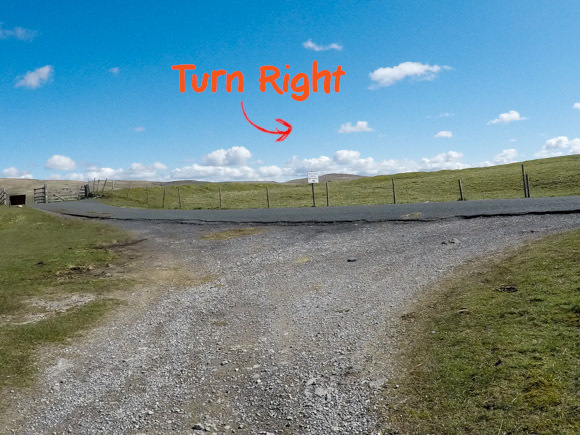
Go through the gate and turn right onto the main road. There’s no designated walking path but it is a quiet road without too much traffic.
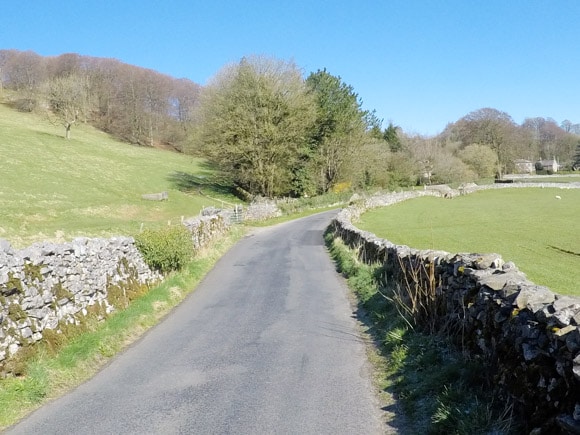
Keep right as the road splits in two.

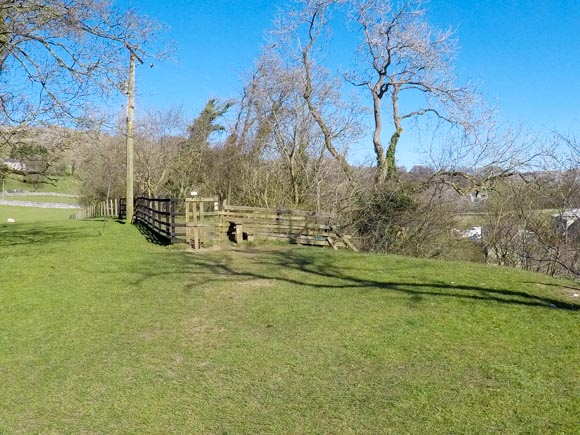
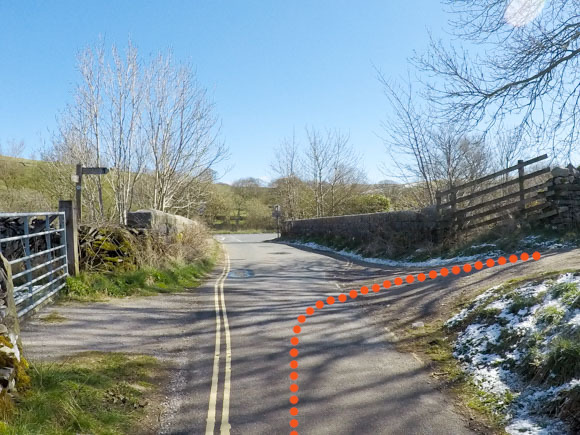
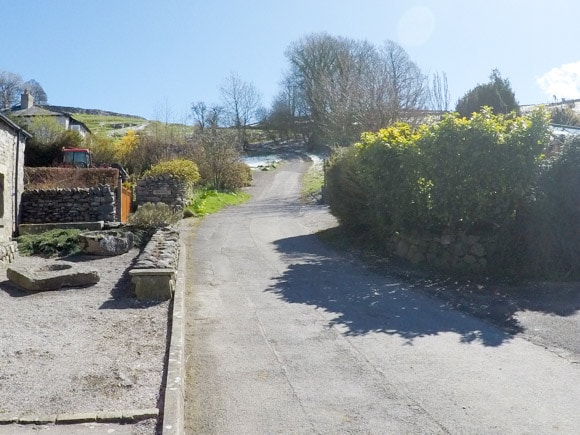
Turn right away from the road and go through the wooden gate next to the house. A signpost confirms the route for Stainforth.
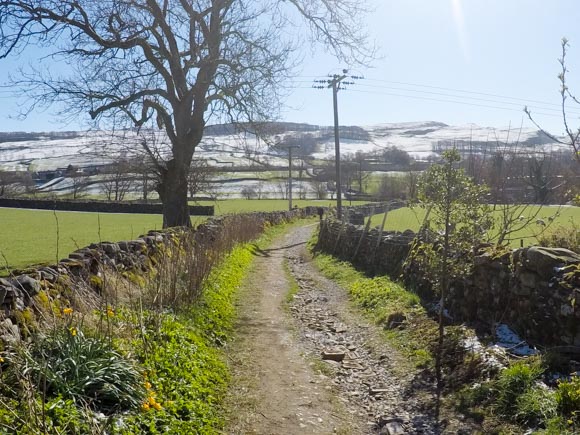
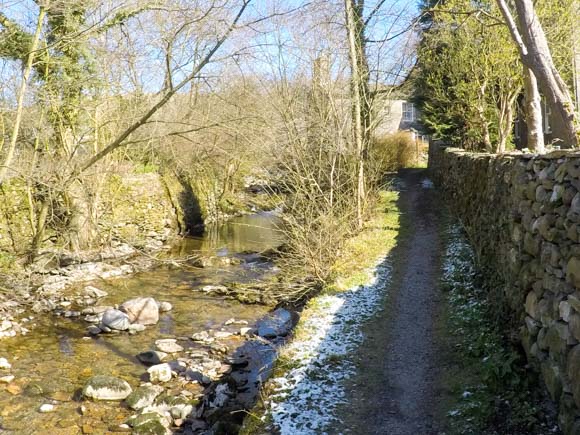
Turn left onto the grassed route, keeping the river on your right-hand side.
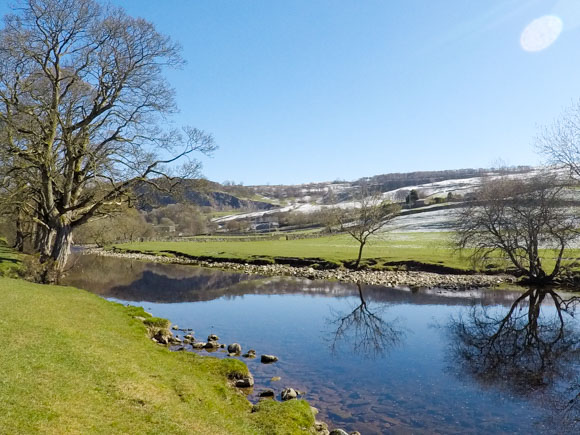
Go through the smaller wooden gate on the right.
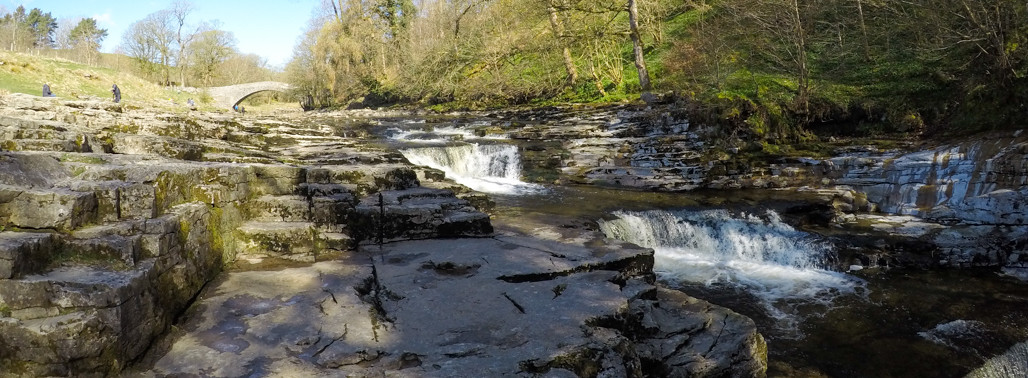
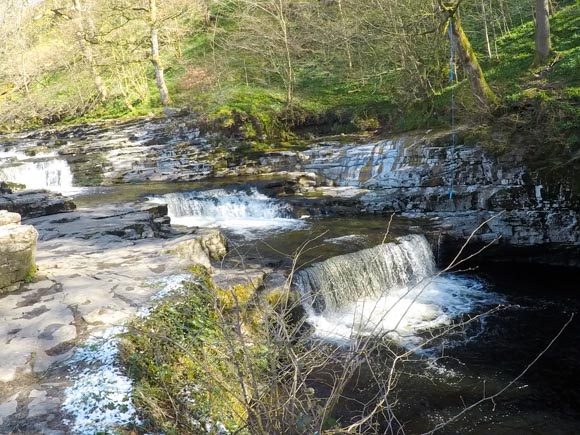
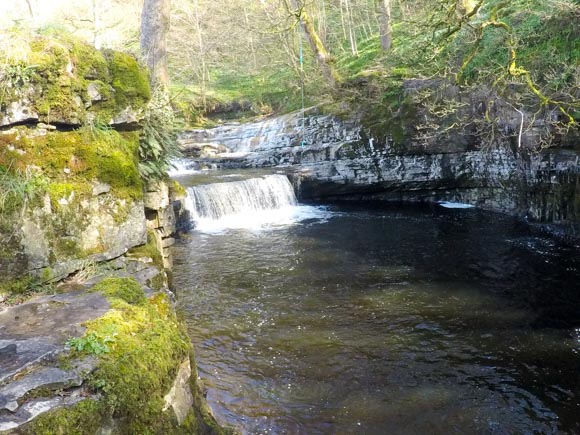
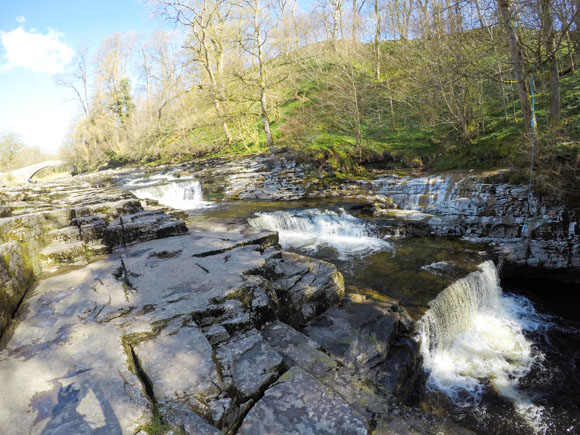
Stainforth Force is filled with wildlife including kingfishers, trout, crayfish and even otters. The main attraction for Stainforth Force is the leaping salmon battling upstream of the falls. The salmon start to appear in October. The below video has some fantastic footage of the salmon.

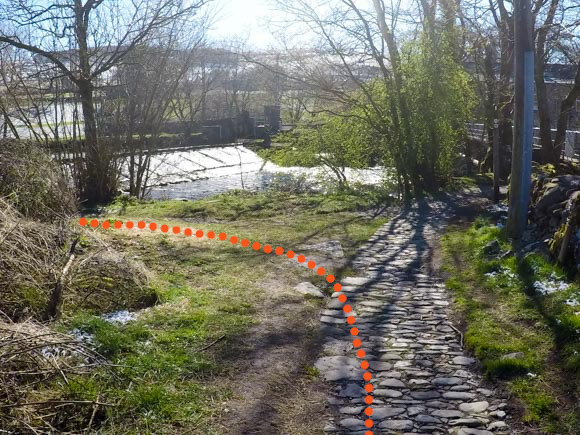
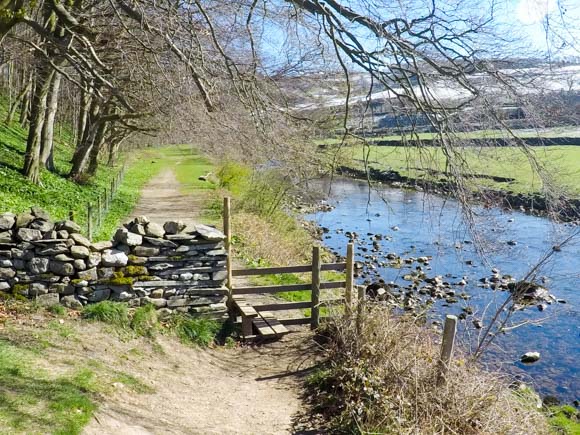
Head over the bridge once you have finished at Stainforth Force.
Turn right onto the bridleway before reaching the main road, following the signpost for Stainforth.

Turn right again, continuing to follow the signpost for Stainforth.
The path leads into Stainforth car park. There are public toilets here.
From the car park, head right onto the main road. There is a signpost for Catrigg Force.
Follow the road around to the right and cross over the bridge.
Turn left immediately after the bridge, following the footpath and signpost for “FP Main Street”.
Turn left passed the houses.
Bearing right, you will see the bridleway and signpost for Catrigg Force.
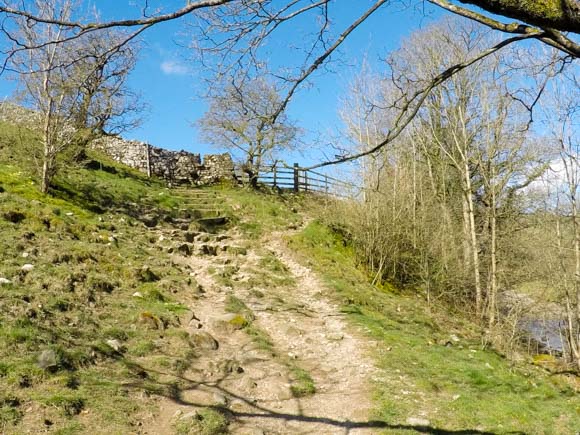
The bridleway is steep. The majority of the elevation for this walk is in this area.
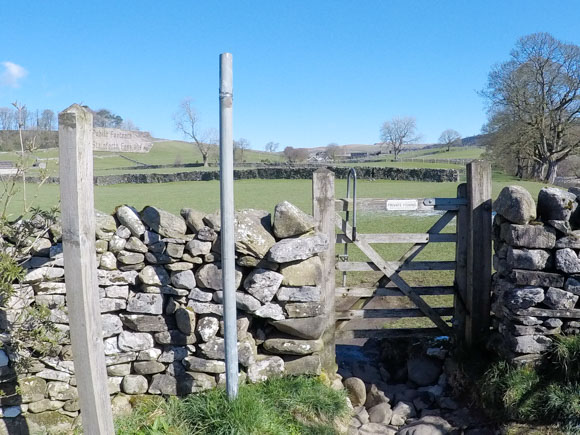
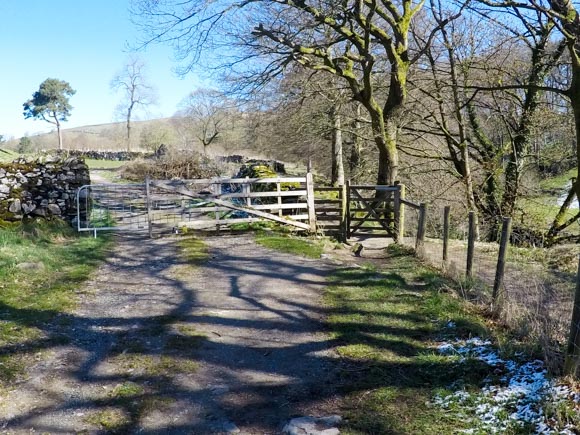
At the signpost and gate, turn left to visit Catrigg Force. After Catrigg Force, you will return here to continue through the wooden gate towards Jubilee Cave.
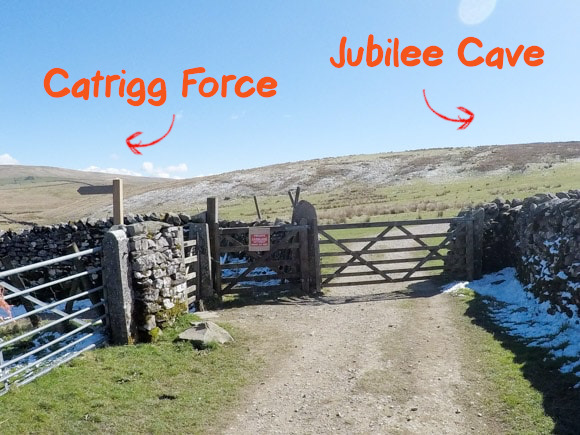
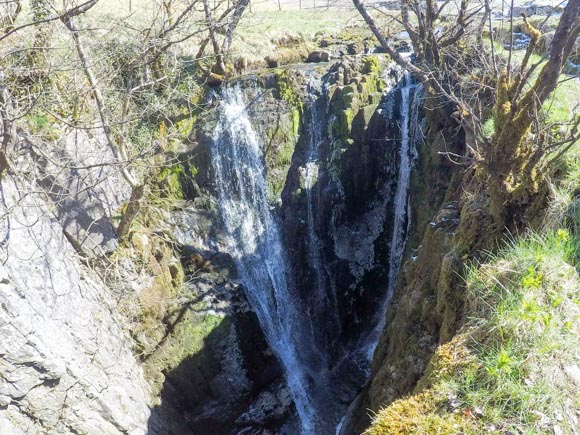
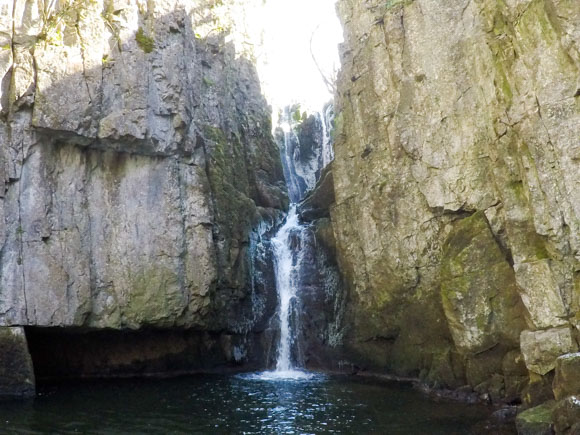
You can view Catrigg Force from the top of the waterfall and also make your way down to the swimming hole at the bottom.
After Catrigg Force, make your way back to the signpost and continue through the wooden gate. Keep following the stone path until you reach the road.
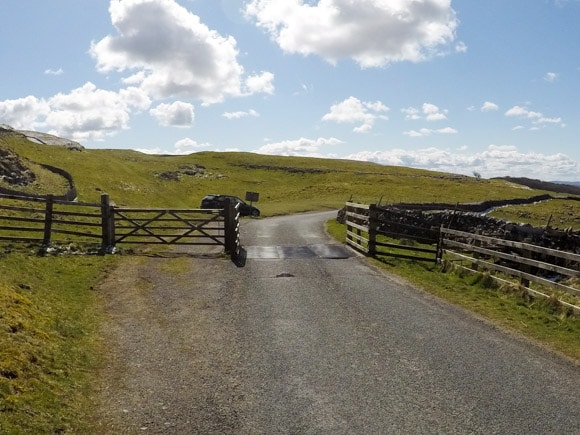
At the end of the path, turn right onto the road.
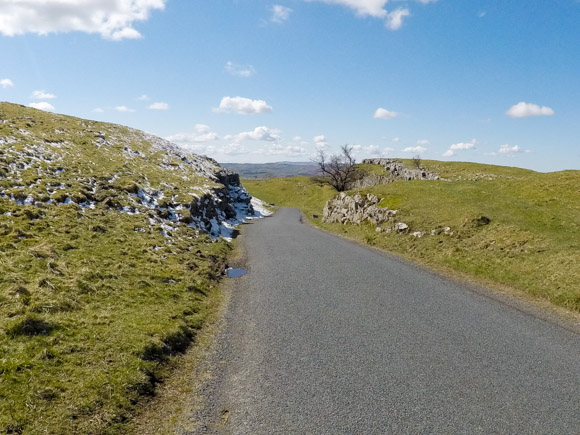
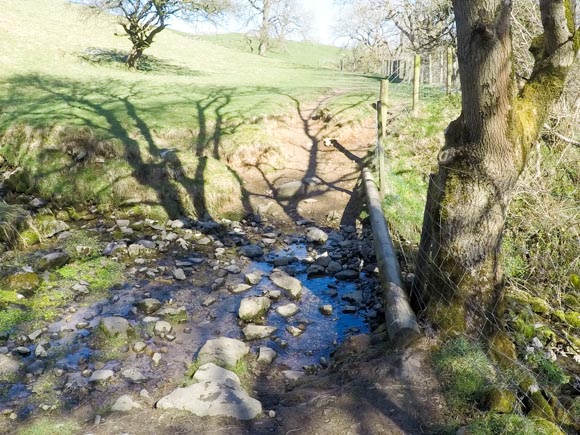
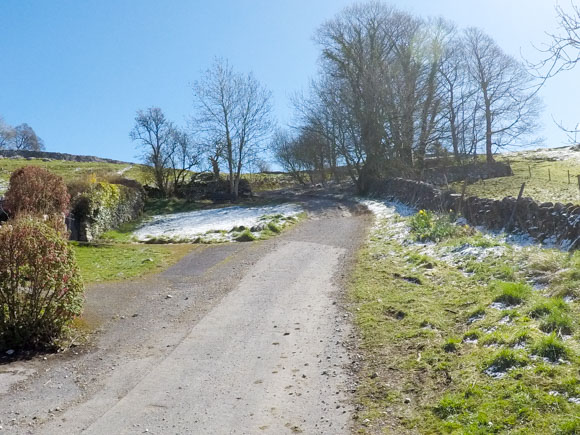
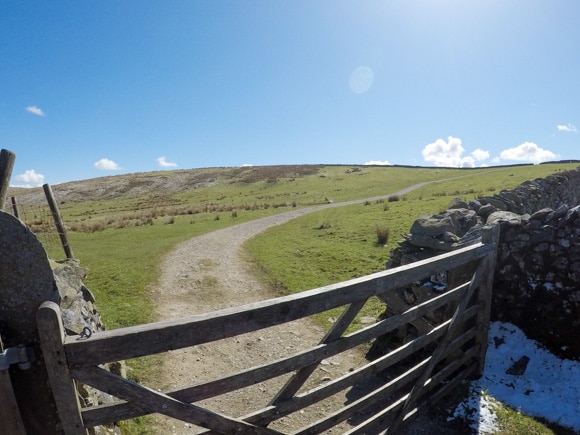
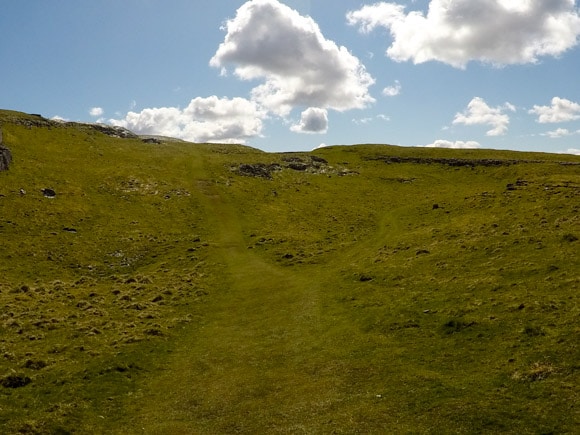
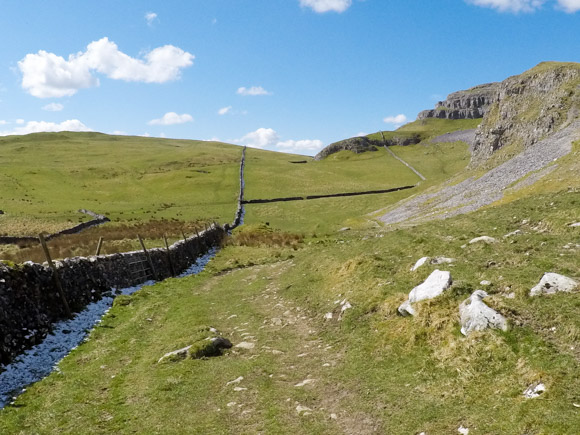
Pass over the cattle grid and turn left up the grass route.
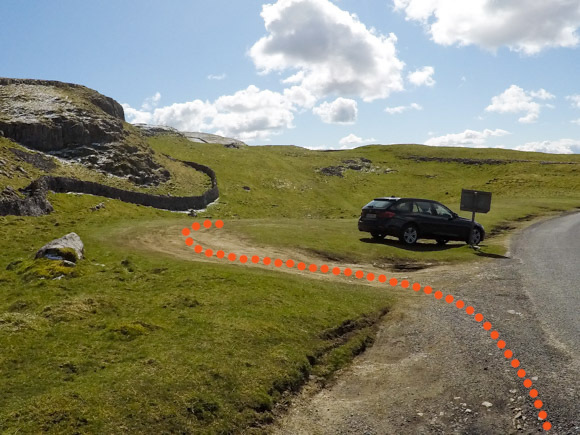
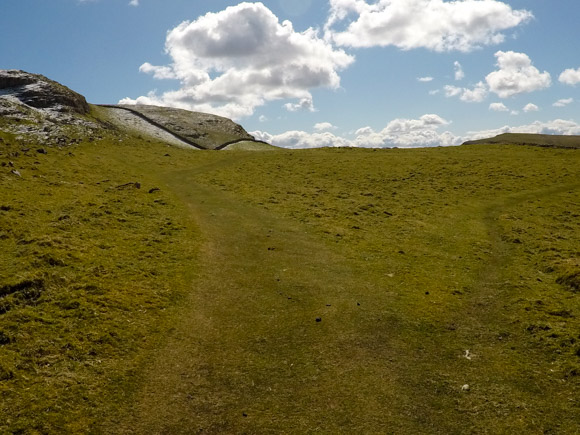
Keep left as the grassed route splits in two.
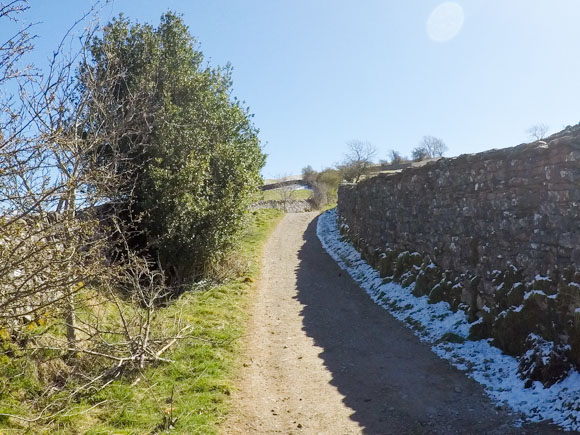
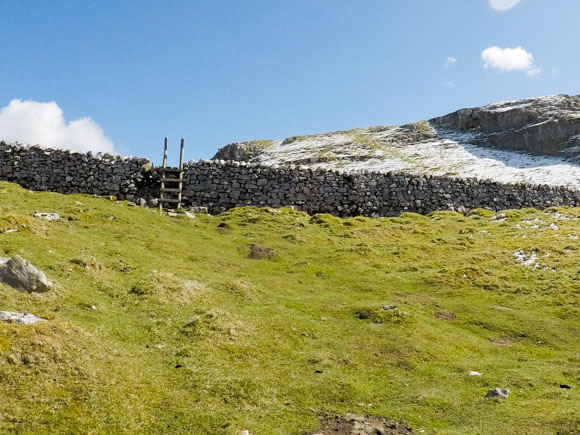
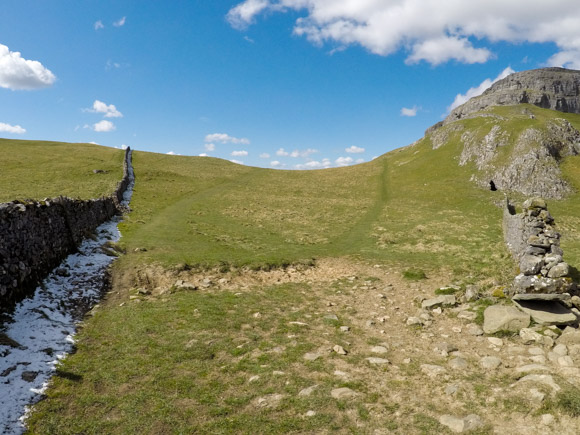
Pass through the stile in the stone wall.
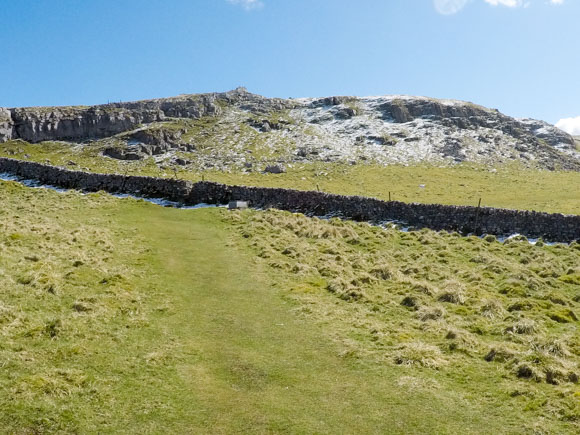
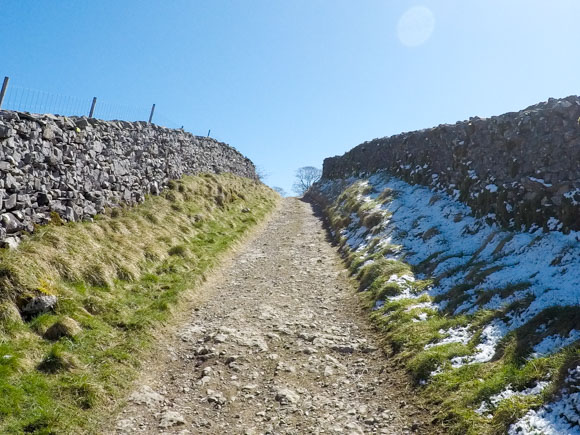
Keep left again on the uphill route.
Cross over the stone wall. You can see Jubilee Cave as you cross over the wall. Head left towards Jubilee Cave.
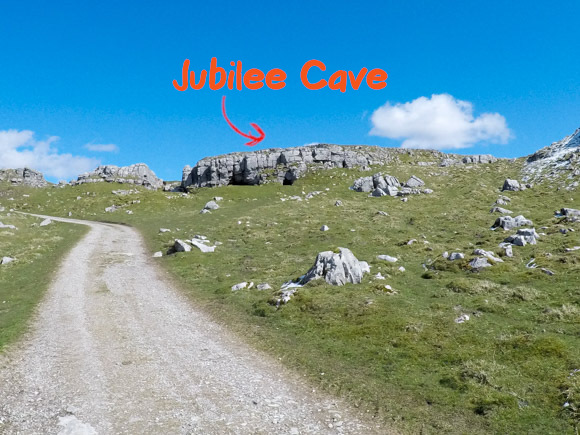
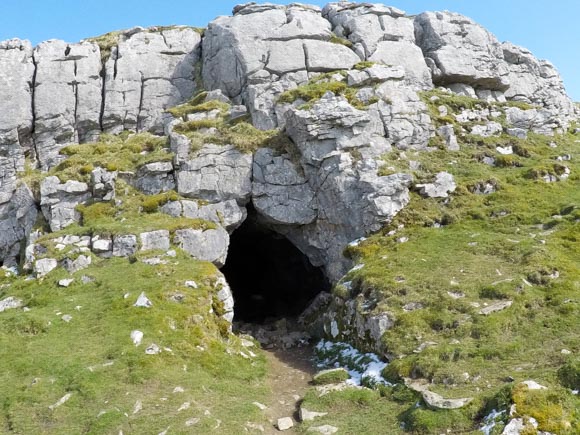
The Jubilee Cave entrance is quite small but reveals a large cave to look around. You will need a head torch to explore it properly.
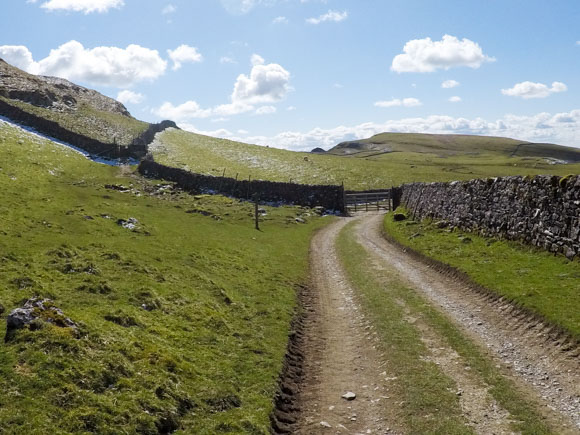
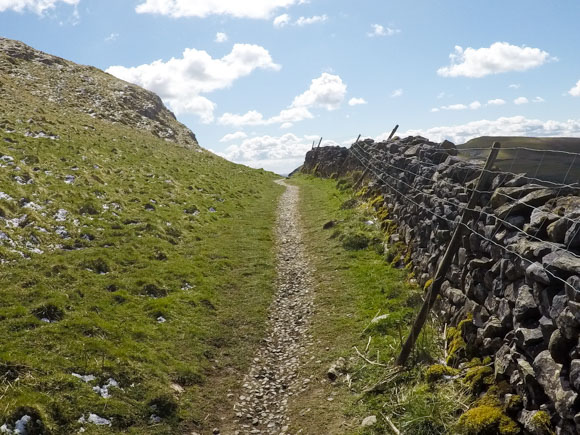
After visiting Jubilee Cave, head left and continue along the bridleway.
Come off the bridleway to the left. Following the signpost for Victoria Cave.
Keep left as the path splits in two.
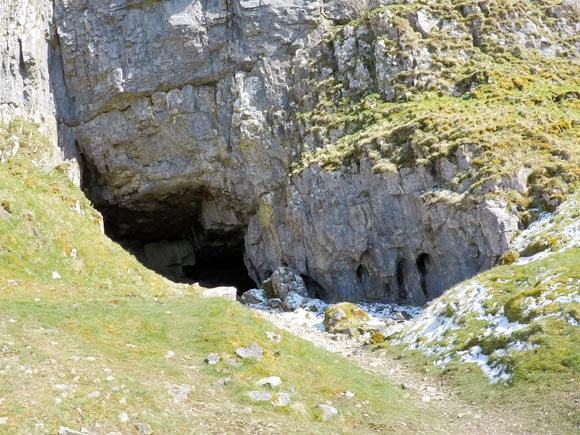
Victoria Cave has a large entrance. You cannot explore Victoria Cave due to it being protected by a barrier but it’s still amazing to visit.
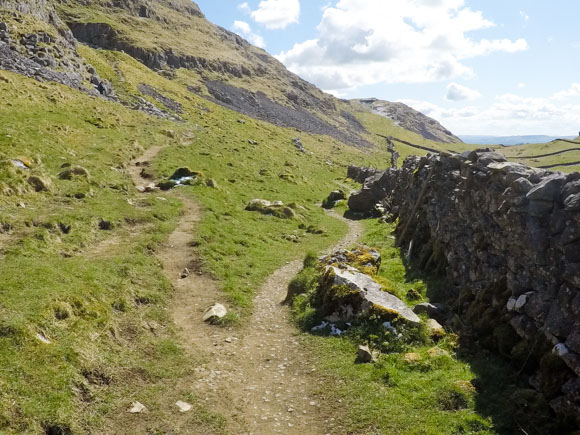
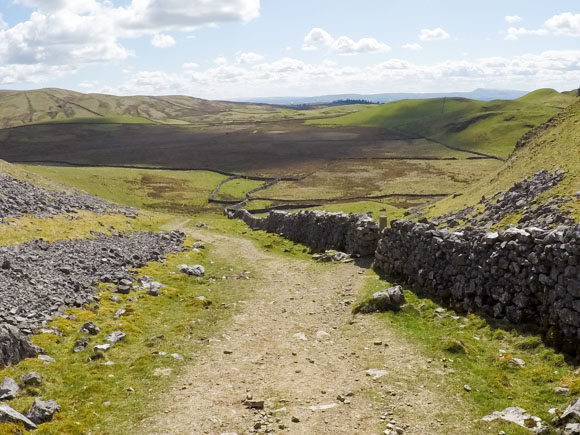
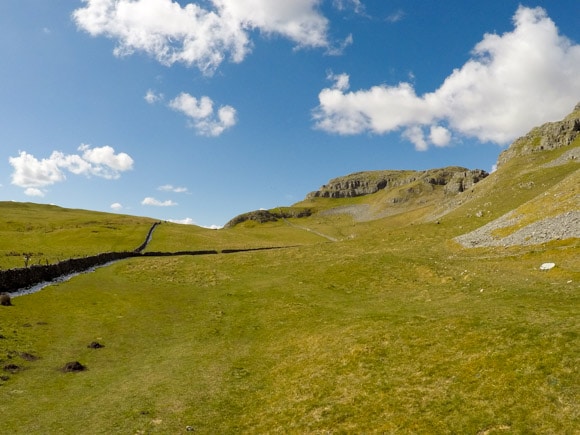
From Victoria Cave, head back to the path and follow the route along the stone wall.
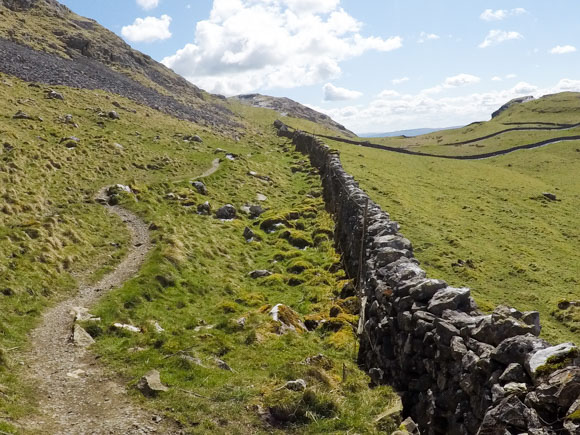
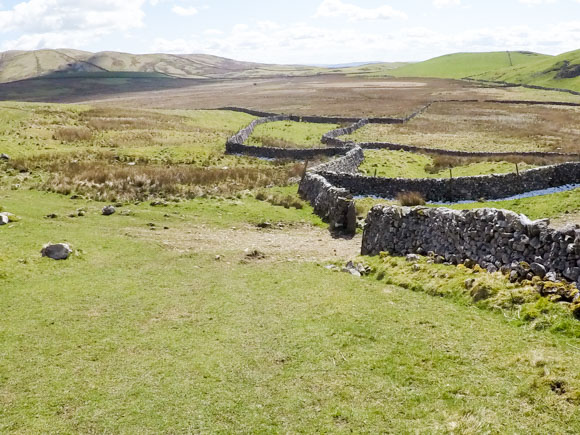
At the edge of the stone wall, continue straight along the grass route.
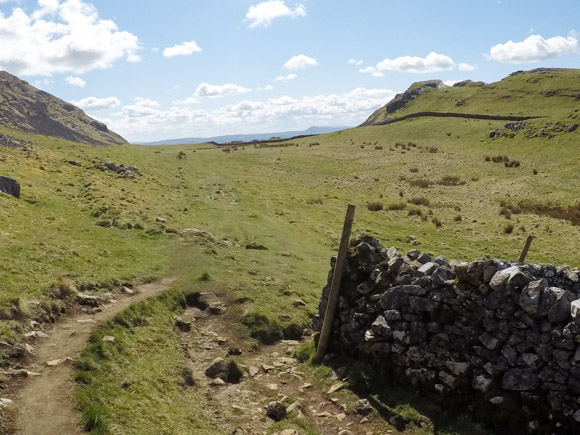
Turn right through the gap in the stone wall.
Both routes lead back to Settle. If you wish to explore more caves, head right, if you wish to return to Settle on an easier path, keep left.
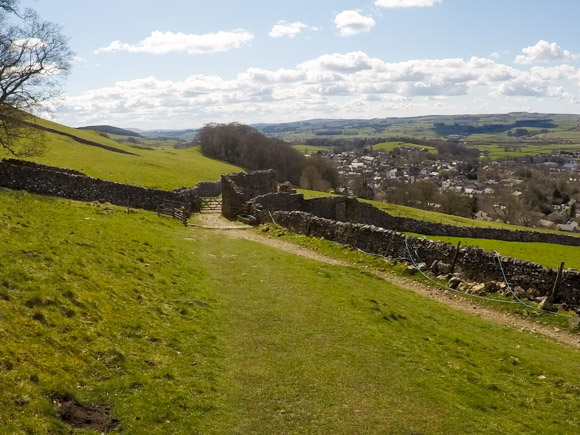
You will see Settle in the distance.

As you reach the path, head left and continue through the gate.
Continue straight ahead, leading back into the centre of Settle.
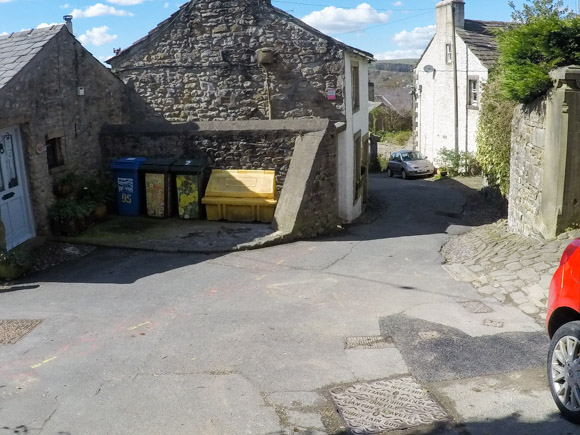
Keep following the road through Settle. Head right onto Church Street (B6480).
The road will lead you back to the Whitefriars Car and Coach Park.